Skip to content

Cart

Your cart is empty

Continue shopping
AeroPress: Sådan brygger du en ren og fyldig kop kaffe
Written by Rasmus Kvistgaard JensenUpdated / Brewing methods / 5 minutes

AeroPress: How to brew a clean and full-bodied cup of coffee

An AeroPress is one of the fastest and most forgiving ways to brew really good coffee, even if you're just starting out. You press water through the coffee with light pressure, and in under three minutes, you have a clean, full-bodied cup without expensive equipment. Here's our step-by-step guide, the correct dosage and grind, and the small tricks that make all the difference.

In short, an AeroPress brews using full immersion: coffee and water are in contact throughout the entire chamber, and a plunger presses the coffee through a filter. Use approximately 15g of coffee for 250ml of water at about 90–93°C, let it steep for 1–1.5 minutes, and press down gently over 20–30 seconds. The result is a smooth, clear cup with a nice sweetness.

What is an AeroPress?

The AeroPress is a small, pressure-based coffee brewer made from a few durable parts. It brews using full immersion, which provides longer contact time and more even extraction. And because there are only a few parts to keep track of, you can focus on the brewing itself rather than the technique.

That's precisely why we love it: it's easy for beginners to get started with, yet flexible enough for experienced coffee enthusiasts to fine-tune every detail. It's made from polypropylene and silicone, and all materials are BPA and phthalate-free. Compact and lightweight, it weighs almost nothing in your bag, which is why it's also our preferred companion for travel and outdoor brewing.
How to brew with AeroPress, step by step

What you'll need:

Coffee: 15 g (approx. 2 scoops with the included scoop)

Water: 250 ml

Water temperature: 90-93 °C

Grind: Medium-fine, similar to coarse table salt

Brewing time: 1-1.5 minutes

Pressing: 20-30 seconds, gentle pressure

Total time: Under 3 minutes

Consider these numbers a good starting recipe, not a rule. The best AeroPress cup is the one you adjust to your own liking.

Instructions

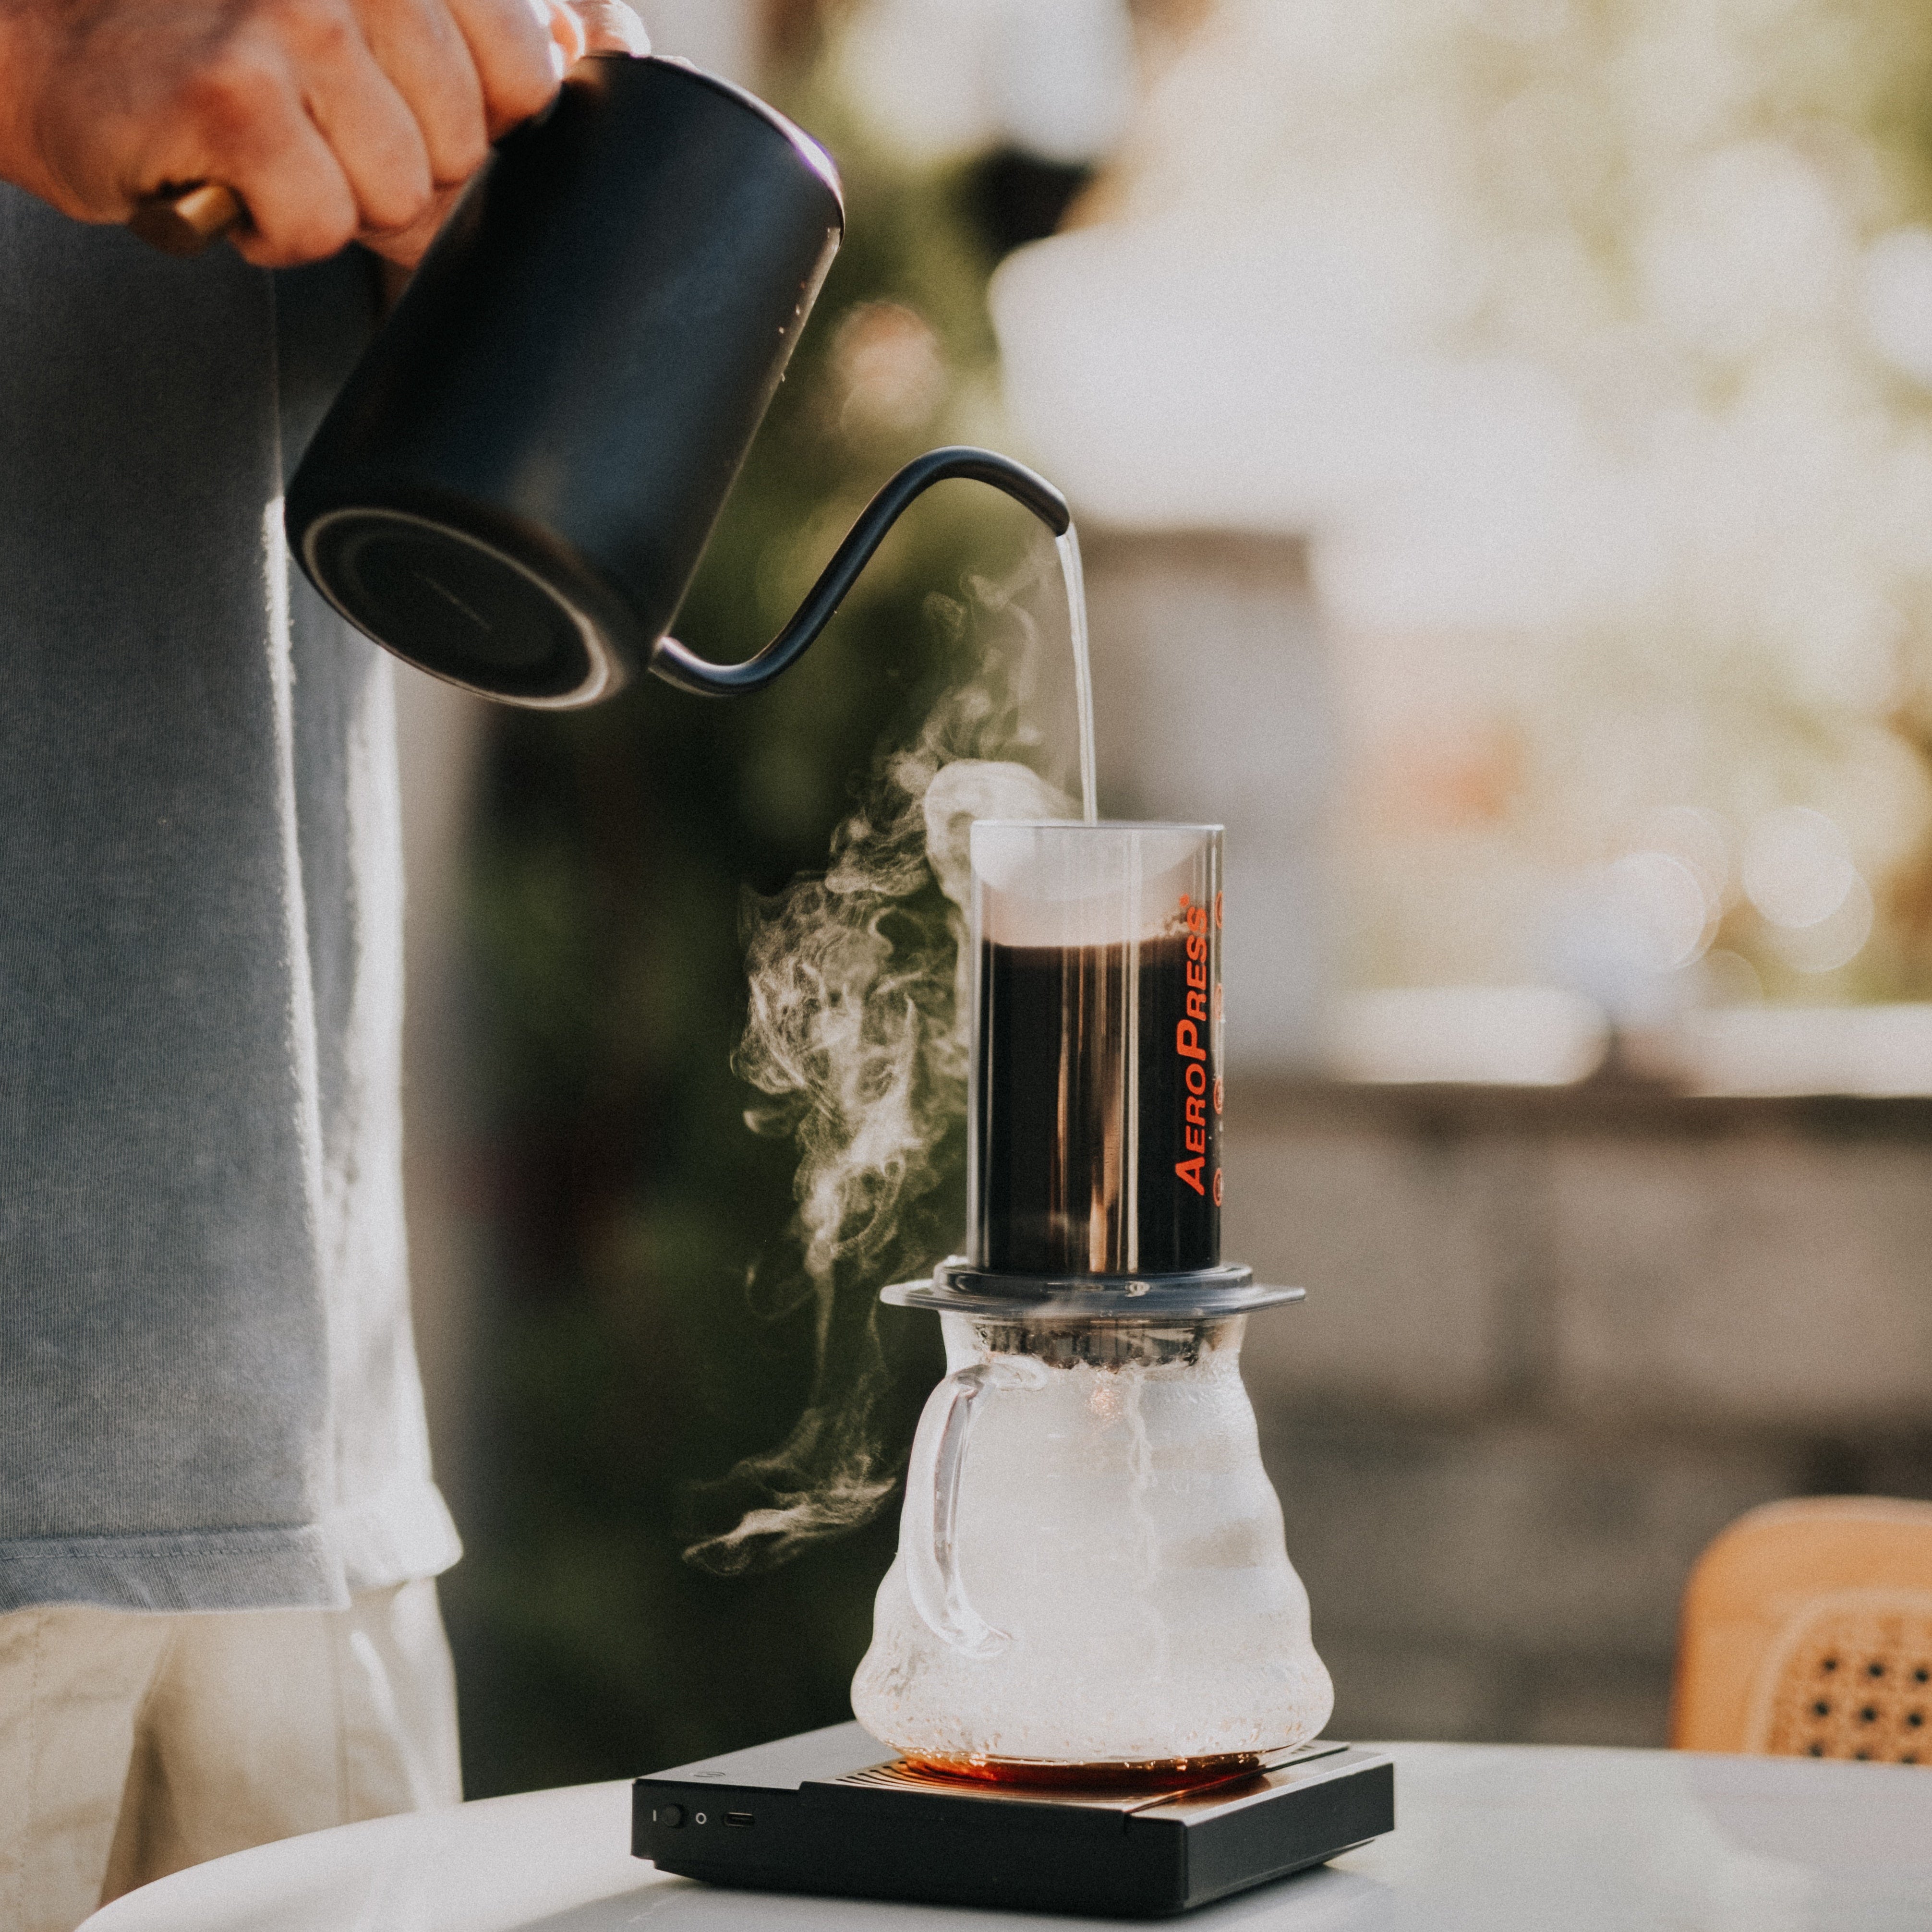
  1. Boil water, then let it cool for a moment to 90–93 °C.
  2. Insert a paper filter into the filter cap, rinse it with hot water, and screw on the cap. This removes paper taste and warms the brewer and cup.
  3. Weigh out 15 g of coffee, grind medium-fine, and pour the coffee into the chamber.
  4. Start a timer, pour in 250 ml of water, and stir gently a couple of times.
  5. Place the plunger lightly on top to retain heat, and let the coffee brew for 1–1.5 minutes.
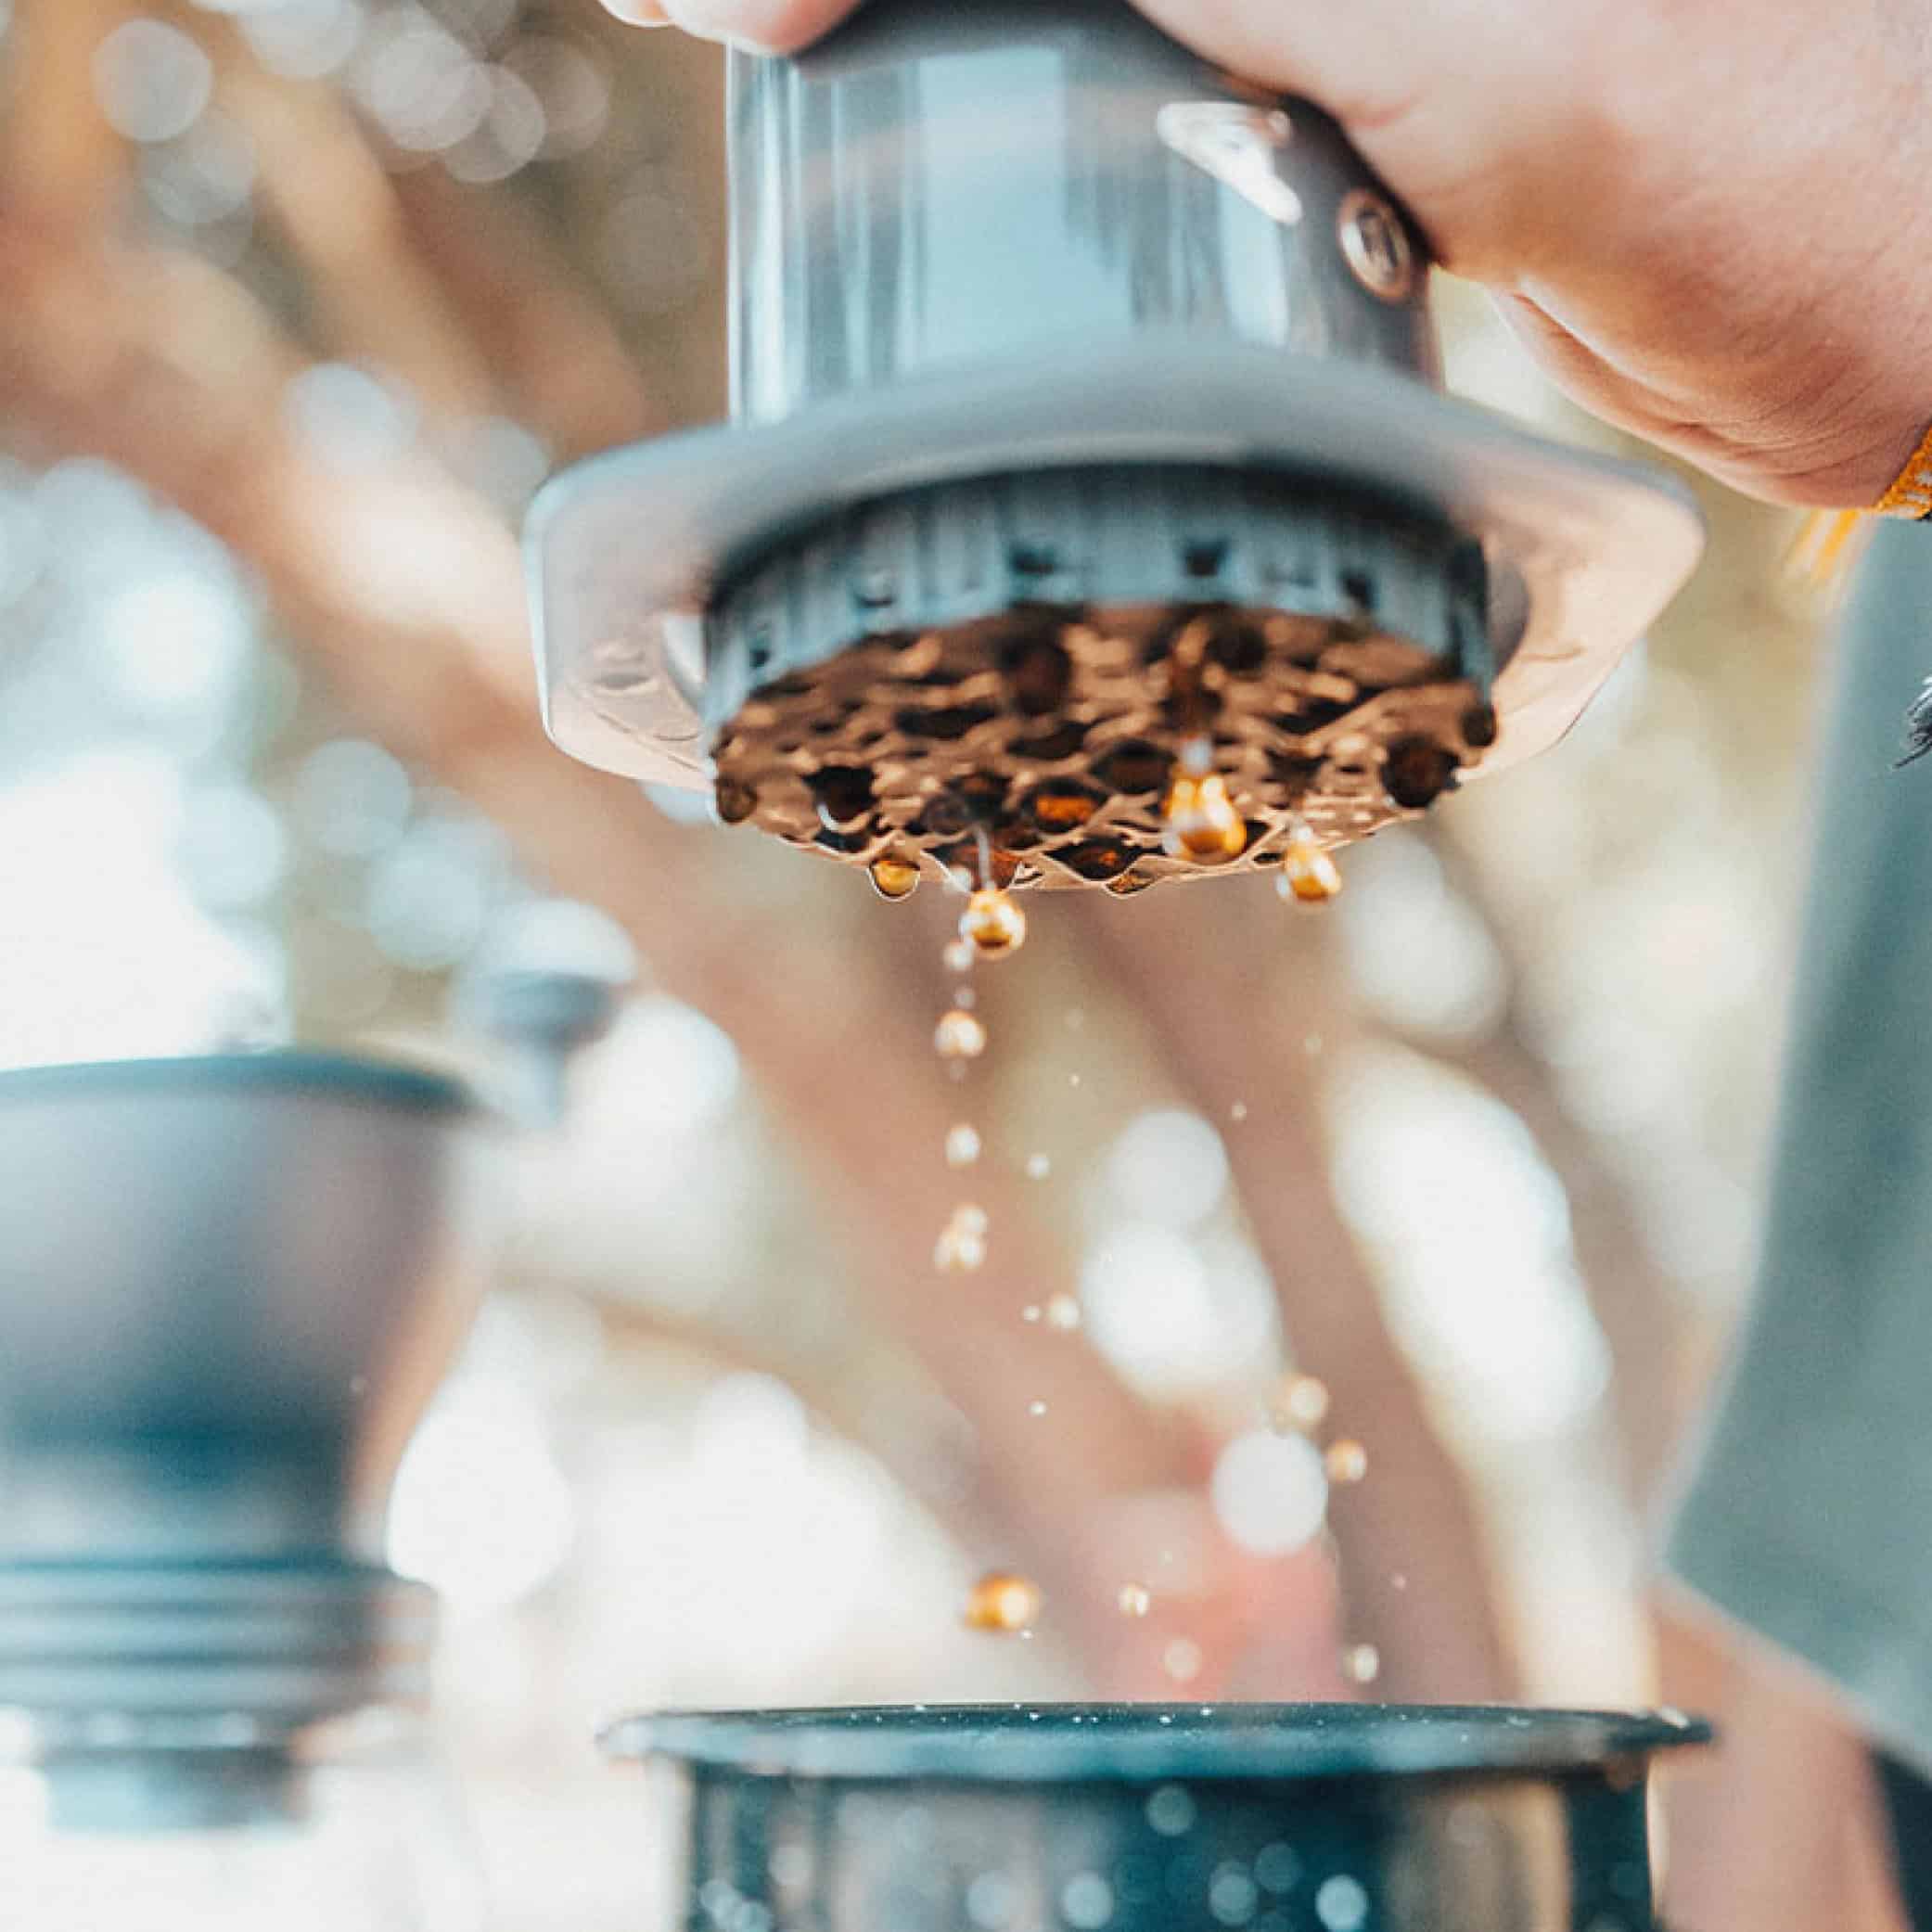
  6. Press down gently over 20–30 seconds. Stop when you hear a faint hiss to avoid bitter sediment.

Frequently asked: How long should coffee brew in an AeroPress? As a rule of thumb, 1–1.5 minutes before pressing. If it brews longer, the cup will be stronger and can become bitter; shorter will yield a lighter, more acidic cup.

Standard or inverted method?

There are two classic ways to brew. In the standard method, the brewer stands with the filter cap down over the cup while it brews. In the inverted method, you turn the brewer upside down so nothing drips through during the brewing time, giving you full control over the extraction before you flip it onto the cup and press. If you are just starting, begin with the standard method; it is the easiest and least messy.

What kind of coffee and grind is suitable for AeroPress?

Grind is the factor that most often determines whether the cup is successful. For AeroPress, a medium-fine grind hits the sweet spot between too fast (thin and sour) and too slow (heavy and bitter). Grinding your own just before brewing gives you the most flavor in the cup.

AeroPress handles both light and darker roasts beautifully, but it particularly highlights the bright, sweet aspects of a coffee. We roast all our coffee in our own roastery in Copenhagen and send it freshly roasted, so it's at its best when you brew it. If we were to point out two favorites: our Almibar – Colombia provides a soft, creamy cup with caramel and maple syrup, while Baragwi-Kenya offers lively acidity and layered sweetness. If you want to see the full selection, you can find it under filter coffee.

Frequently asked: Which beans are best for AeroPress? Choose a freshly roasted coffee you already like. Light to medium roasts enhance the AeroPress's clean, clear character, but the method is flexible enough to do justice to almost any good bean.

AeroPress vs. French Press and Pour Over

All three methods can make excellent coffee, but they taste and behave differently:

AeroPress
Body and Mouthfeel: Full-bodied, yet clean
Filter: Paper (removes oils) 350 AeroPress Replacement Filters
Brewing Time: Under 3 minutes
Difficulty: Easy
Best for: 1 cup, travel, control

French Press:
Body and Mouthfeel: Heavy, oily
Filter: Metal
Brewing Time: 4 minutes
Difficulty: Very easy
Best for: Multiple cups at once

Pour over:
Body and Mouthfeel: Light and clear
Filter: Paper
Brewing Time: 3-4 minutes
Difficulty: Requires a little practice
Best for: Aromatic, light coffees

In short: if you choose AeroPress, you get the cleanliness of paper and a full body in one and the same cup, and a brewer that is easy to take anywhere.

The Most Common Mistakes and How to Avoid Them

  • Too hot water: Boiling water can scorch the coffee and cause bitterness. Let it cool to 90–93 °C.
  • Incorrect grind: Too fine a grind makes it hard to press and can become bitter; too coarse results in a thin cup. Aim for medium-fine.
  • Pressing too hard: A calm, even pressure is better than force. Stop when you hear a hiss.
  • Skipping the rinse: An unrinsed paper filter can impart a papery taste. Always rinse first.
  • Old coffee: Flavor peaks in the weeks after roasting. Buy freshly roasted, and grind just before use.

Copenhagen Coffee Lab Perspective

For us, good coffee is about more than taste; it's about the joy of brewing it yourself. The AeroPress is simple enough for everyday use and precise enough to experiment with, allowing freshly roasted beans to showcase their full potential. If you want to get started, you'll find both the AeroPress and our AeroPress Kit with coffee and everything in a complete starter set. See you in the cup.

FAQ

Can you make espresso with an AeroPress?

Not really espresso, as the AeroPress does not build the same high pressure as an espresso machine. But with a finer grind, more coffee, and less water, you can make a concentrated, espresso-like shot, a great starting point for a homemade "americano" or milk coffee.

How many scoops of coffee should I use?

The included scoop corresponds to approximately one dose. We recommend about 15 g (often around two scoops) per 250 ml of water. It's a good idea to weigh it out initially to find your preferred taste.

Can AeroPress filters be reused, and can they be composted?

The paper filters are biodegradable and can be composted. Many, however, rinse a filter and use it a couple of times. If you need new ones, you can find them as AeroPress microfilters.

Should I use a paper or metal filter?

Paper provides the cleanest cup because it captures oils and the finest grounds. Metal filters allow more oils through and give more body. Both work; it's a matter of taste.

Is an AeroPress good for beginners?

Yes. It consists of few parts, it's hard to mess up completely, and you have a good cup in under three minutes. That's one of the reasons we often recommend it as a first brewer.